

OAuth client credentials
You can create an OAuth client from your developer settings. The OAuth client starts in a “pending” state and must be reviewed by a Cal.com admin before it can be used. You must select at least one scope when creating the client. You can register up to 10 redirect URIs per client.OAuth scopes
Scopes control which API endpoints your OAuth token can access. When a user authorizes your client, the issued access token can only call endpoints covered by the granted scopes. Any request to an endpoint outside those scopes is rejected. You must select your scopes when creating your OAuth client, and include them in the authorization URL.Available scopes
Some endpoints like creating, cancelling, and rescheduling bookings are public and do not require any scope.
Team scopes
Team scopes control access to team-level resources. These apply to endpoints under/v2/teams/:teamId/... and /v2/organizations/:orgId/teams/:teamId/....
Organization scopes
Organization scopes control access to organization-wide resources. These apply to endpoints under/v2/organizations/:orgId/... that do not target a specific team.
An
ORG_ scope automatically grants the corresponding TEAM_ scope. For example, a token with ORG_PROFILE_READ can also access endpoints that require TEAM_PROFILE_READ.Authorize
To initiate the OAuth flow, direct users to the following authorization URL:Rotating client secrets
You can rotate your OAuth client secret without downtime. Cal.com supports up to two active secrets per client at the same time, so you can transition gracefully.1
Generate a new secret
In your Cal.com dashboard, go to your OAuth client settings and create a new secret. Both your old and new secrets are now valid.
2
Update your application
Replace the old
client_secret value in your application with the new one. Verify that token exchanges and refreshes work with the new secret.3
Delete the old secret
Once your application is using the new secret, delete the old one from your OAuth client settings.
Authorization URL
URL parameters:
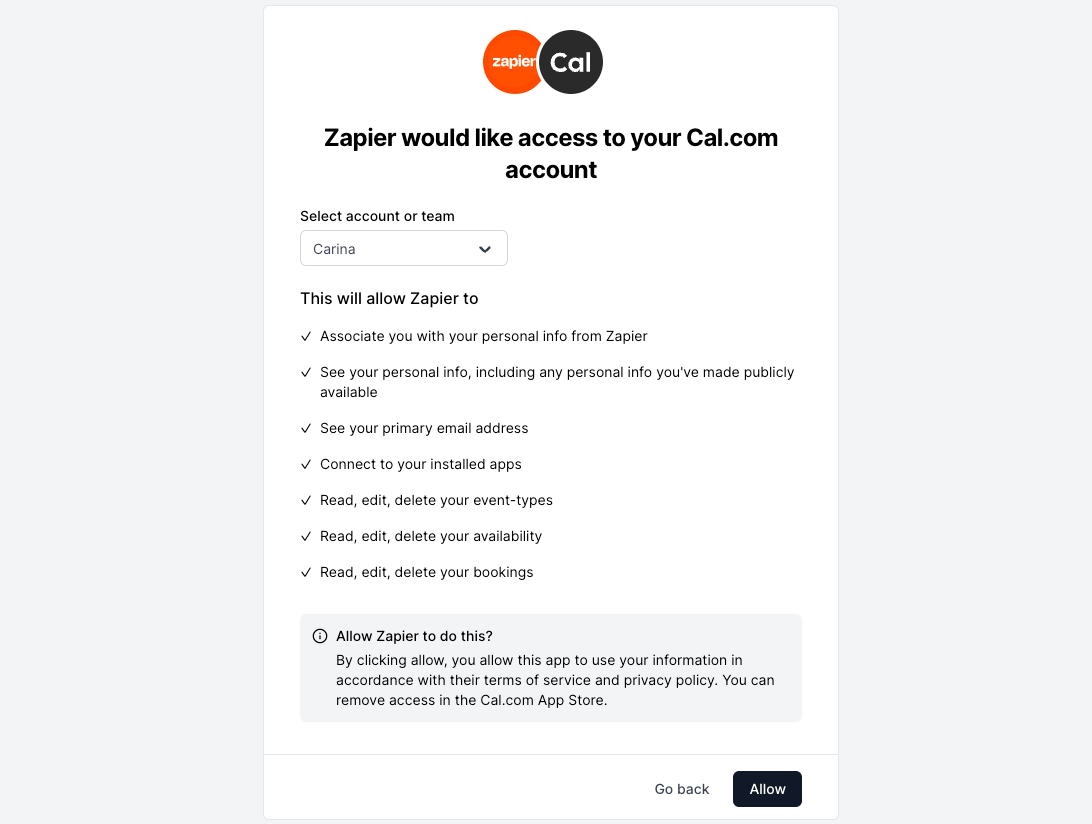
After users click Allow, they are redirected to your
redirect_uri with the authorization code as a URL parameter. If you included a state parameter in the authorization URL, it is returned unchanged so you can verify the response matches the original request.
Exchange token
Exchange the authorization code for access and refresh tokens. Endpoint:POST https://api.cal.com/v2/auth/oauth2/token
Request body:
Response:
Access tokens expire after 30 minutes. Use the refresh token to get a new access token.
Refresh token
Refresh an expired access token using your refresh token. Endpoint:POST https://api.cal.com/v2/auth/oauth2/token
Request body:
Response:
Scopes are preserved from the original authorization. You do not need to re-request scopes when refreshing tokens.
Client secret rotation
You can rotate your client secret with zero downtime. Cal.com allows up to 2 active secrets at a time, so you can deploy a new secret before revoking the old one.1
Generate a new secret
Go to your OAuth client settings and generate a new secret. Your old secret continues to work.
2
Update your application
Use the new secret in all token exchange and refresh requests.
3
Revoke the old secret
Once you’ve verified the new secret works, revoke the old one from the settings page. Revocation takes effect immediately.
Existing access and refresh tokens remain valid after secret rotation. Rotation only affects requests that require
client_secret (token exchange and refresh).Verify access token
To verify the correct setup and functionality of OAuth credentials, use the following endpoint:GET https://api.cal.com/v2/me
Headers:
- Authorization: Bearer YOUR_ACCESS_TOKEN
Legacy client migration
If your OAuth client was created before scopes were introduced, it is a legacy client. Tokens from legacy clients can access any resource on behalf of the authorizing user without scope restrictions. You can migrate a legacy client to use explicit scopes without creating a new client:1
Update your authorization URL
Add a
scope parameter to your authorization URL before changing any client settings. New tokens will carry only the scopes you specify.2
Update client scopes in settings
Once your authorization URL is updated and working, open your OAuth client settings and select the matching scopes. After saving, scope validation is enforced for all new authorization requests.